JupyterLab
This page explains how to connect to JupyterLab and custom environments (kernels).
Getting Started
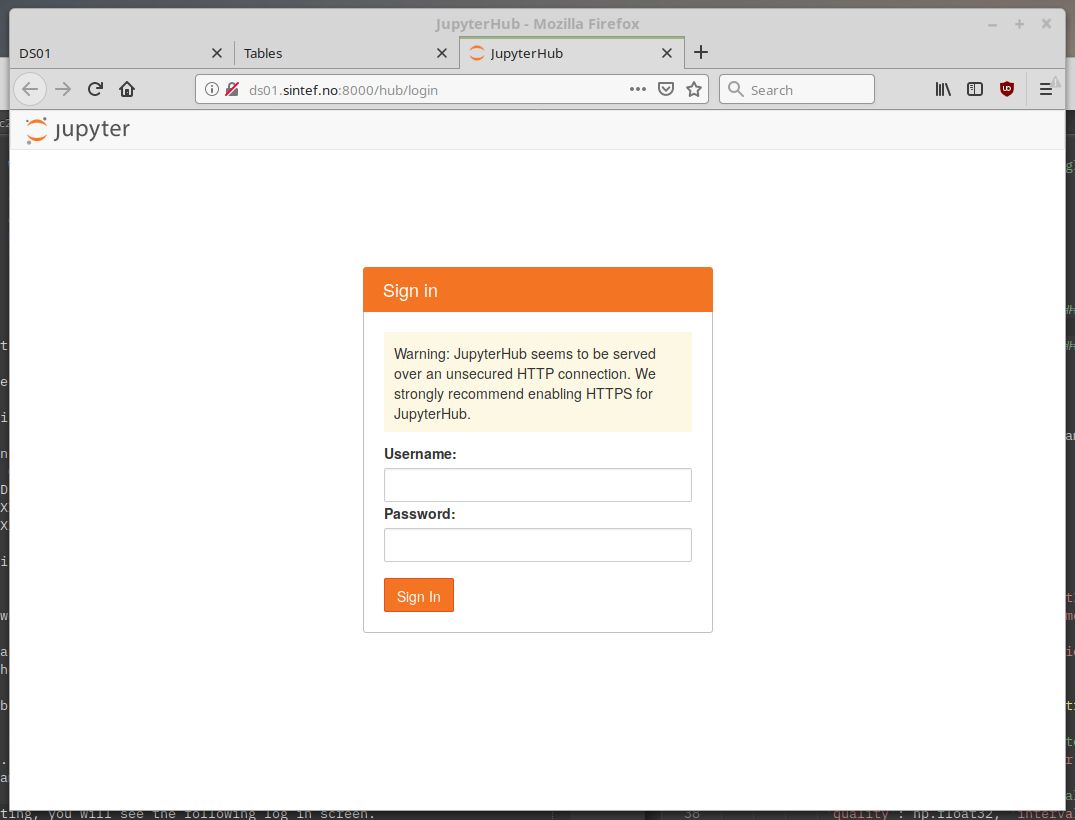
Navigate to http://ds01.sintef.no/notebook in your browser.
You will see the following log in screen.
After logging in, you have access to a Jupyter Lab installation.
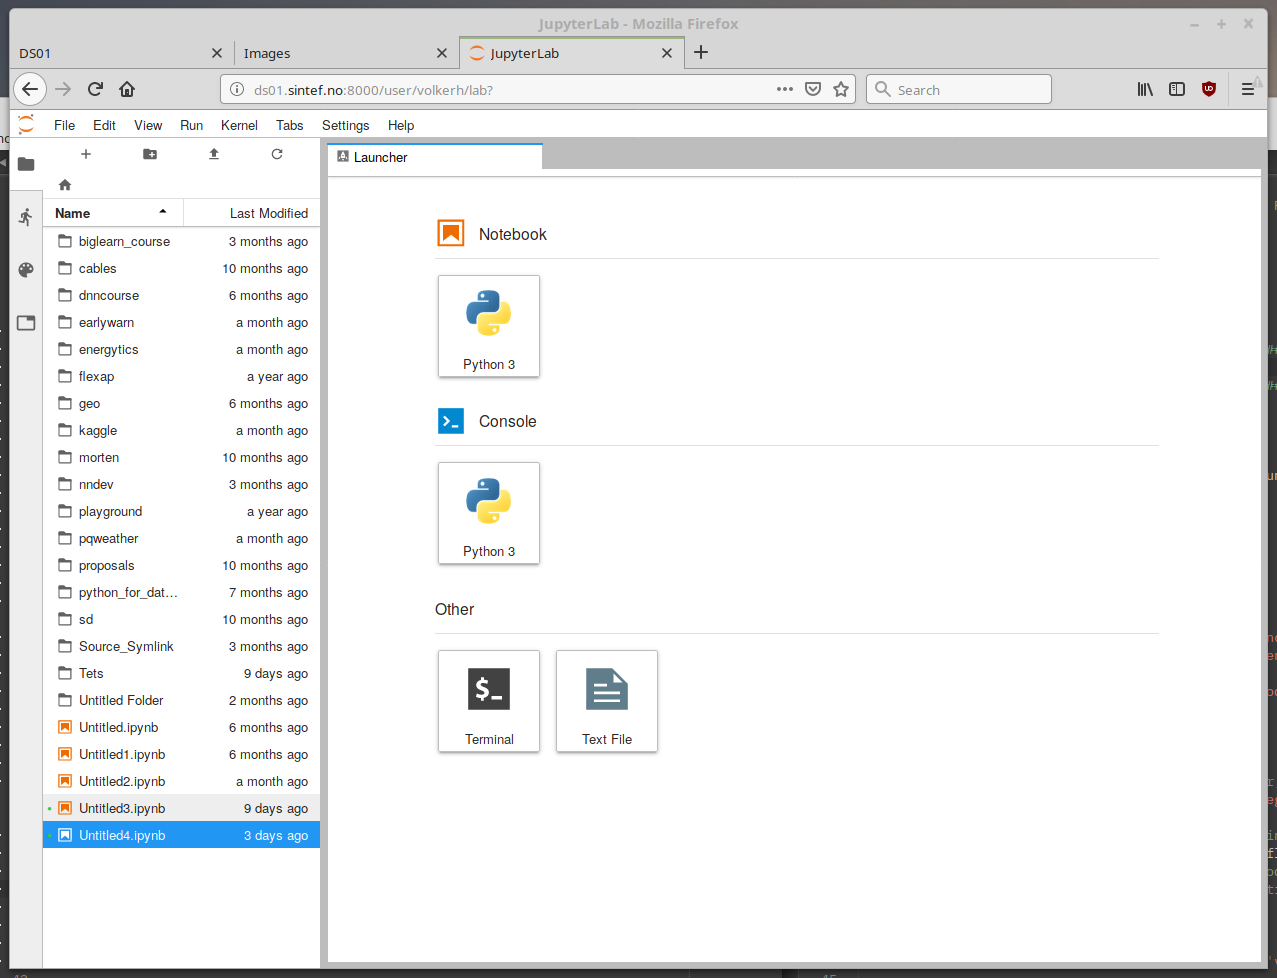
Think of it as a cross between Matlab, RStudio, and (Python) Jupyter Notebooks.
The Python data science stack is installed (Numpy, Scipy, Matplotlib, Pandas, Keras, Scikit-Learn).
Shared Machine
This is a shared machine. If your notebooks are slow, long-running, and/or resource consuming, please wrap them into a script and use the job scheduler. See Slurm. If you're too greedy, your account may be suspended.
Using Python Environments
If you've followed the guide to Python and set up a custom conda environment with your own packages, you may want to access that environment from within Jupyter Lab.
You can do this by installing a kernel specification into you path. For example, if you want the environment called ew available from Jupyter, you need to (a) change into the environment, (b) make sure the latest version of ipykernel is installed, and (c) install the kernel spec. The parameter value of --display-name (EarlyWarn, in the example) is how the environment will show up as a kernel in Jupyter.
In other words, do something like this.
(base) volkerh@ds01:~$ conda activate ew
(ew) volkerh@ds01:~$ conda install ipykernel
(ew) volkerh@ds01:~$ python -m ipykernel install --user --name ew --display-name EarlyWarn
Installed kernelspec ew in /home/volkerh/.local/share/jupyter/kernels/ew
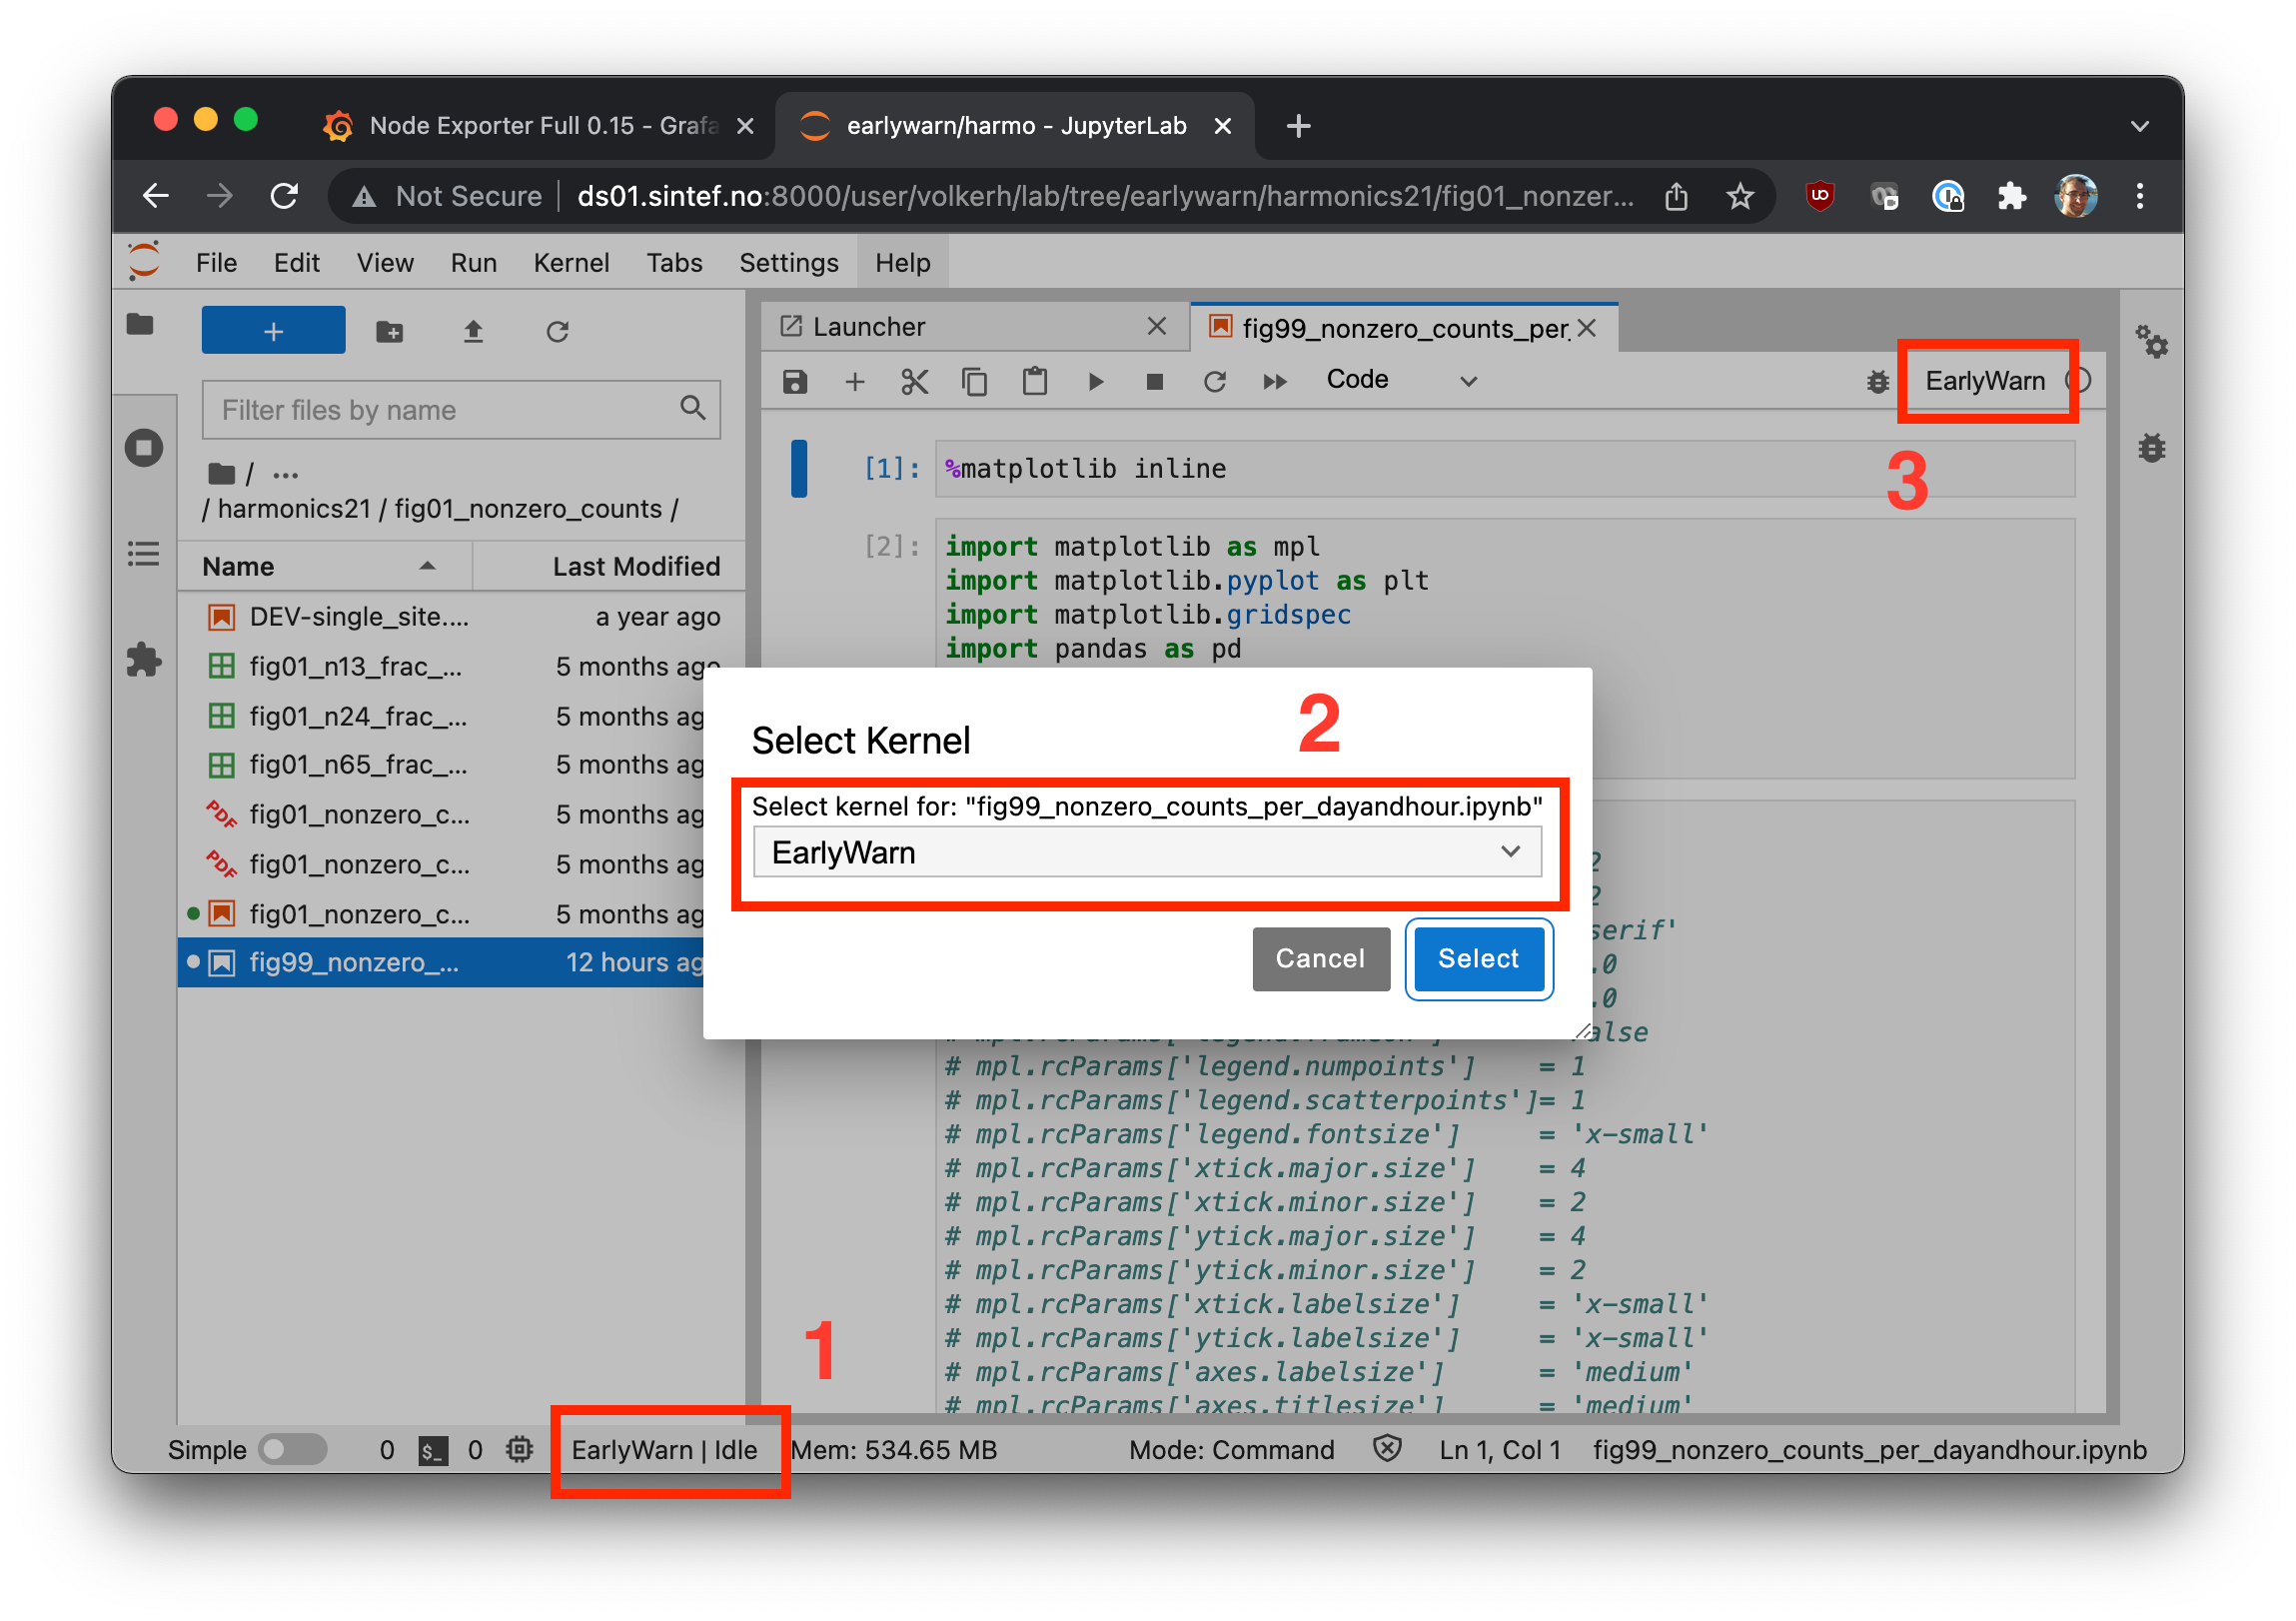
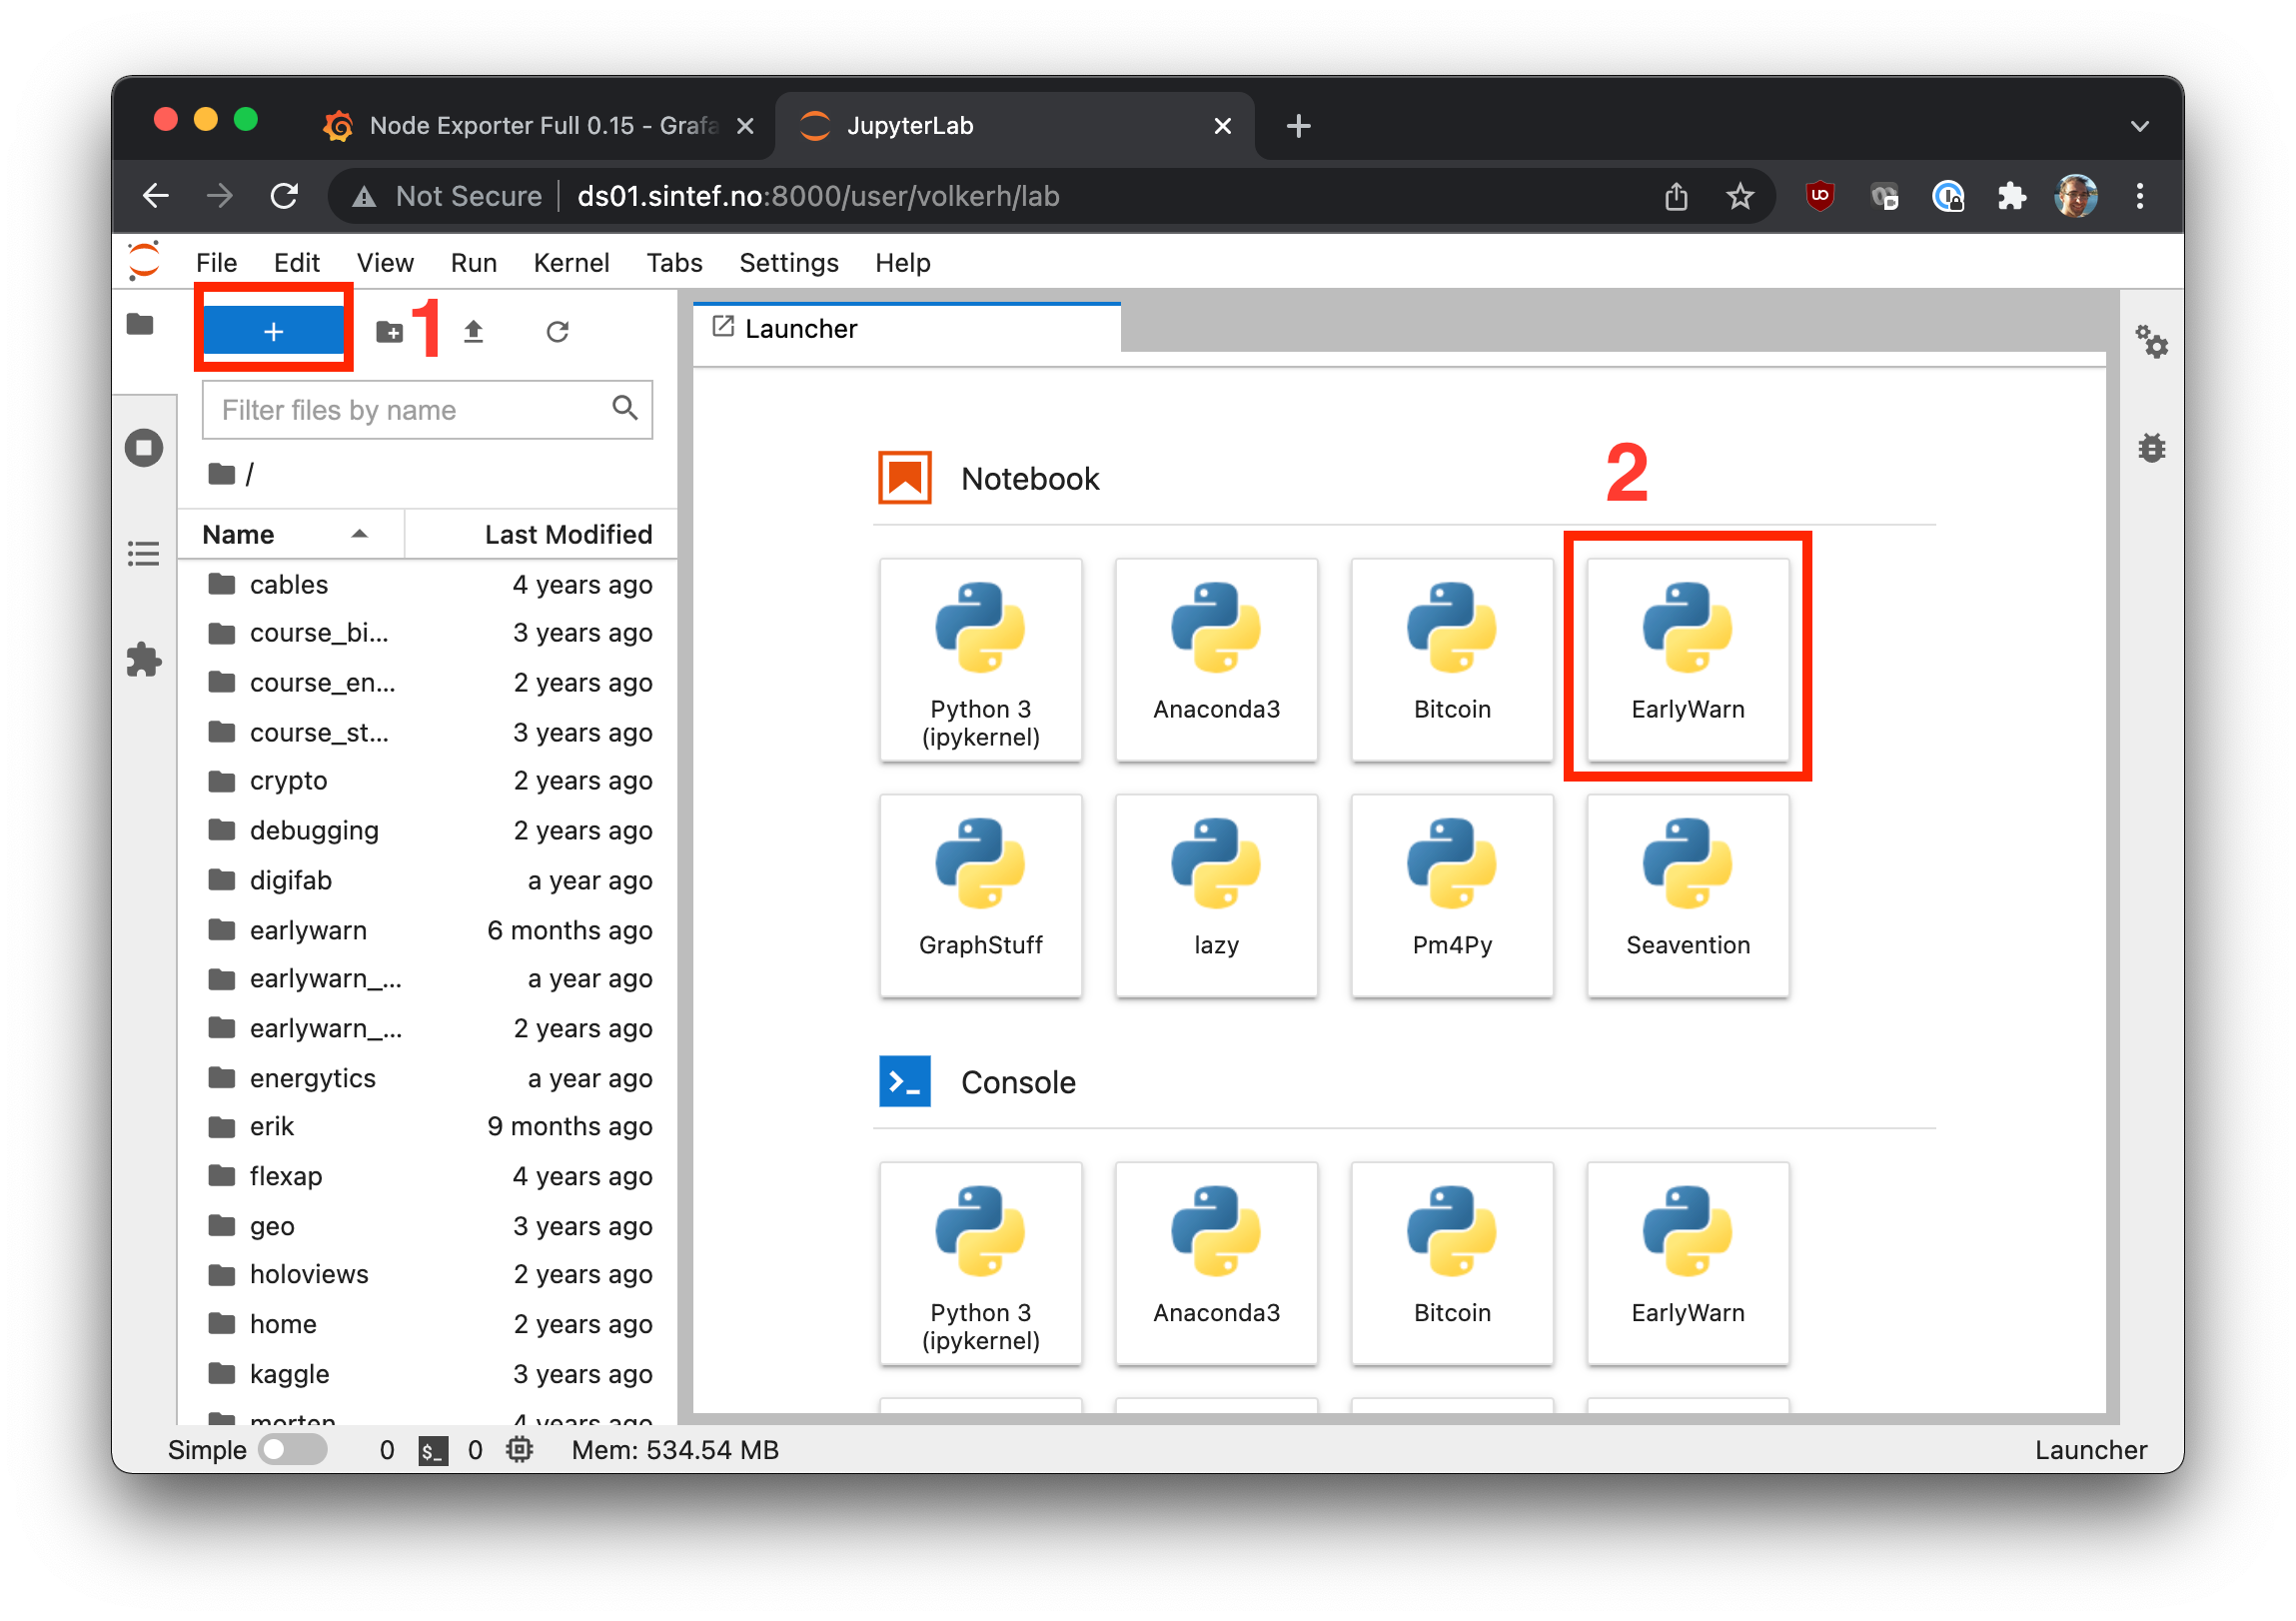
Now, you can navigate to Jupyter Lab and select the environment as a kernel for (a) an already running notebook, or (b) for a new notebook, cf.
If they don't show right away, restart your server, i.e. go to File > Hub Control > Stop My Server.